I’ve had a chance to get pretty familiar with the mechanical design of the Printrbot Simple Pro. It is a straightforward and memorable design, and makes great prints.
This printer is a classic Brook Drumm - tight clearances and compact spaces are a design goal. Built like a tank and hits the sweet spot between rigidity and portability.
I got my hands on a Simple Pro chassis; mechanical parts only. You may have picked up one of these when Brook ran a “rolling stock” sale on the Printrbot store.
Note: For a limited time, you can get mechanical parts for this printer directly from Brook Drumm - details here
I wanted to put together electronics for a printer from scratch. This post is not a guide - if you aren’t comfortable starting a “kit” project with only 80% of the materials and knowledge you need to finish, you should not consider a project like this.
That said, I found it to be a great learning experience and wanted to share my work here so people knew what parts I sourced and how I approached this project.
I don't recommend ripping out all the wires and doing this if you have an existing working Simple Pro (with the G2 Printrboard). We're exploring less dramatic ways you can retrofit an existing Simple Pro to use Marlin.
Electronics Used:
Printrboard Powerboard (not needed, but made connections neat)
I am powering the printer with an ATX power supply, and used 24AWG wire.
My Marlin settings are here.. I'm using stealthchop mode (and it is really cool, so far) but if you run into any difficulty with reliable motion, try disabling stealthchop. I haven't run any long prints on this yet, so I'm not sure how much of an issue overheating will become.
For instructions on how I've set up the Raspberry Pi, check out this article.
Notes:
Nothing fancy with the wiring. Bundled the wires with zipties and anchored to the Y-axis frame in a few places for strain relief. The wires fit through the existing ribbon cable hole without any difficulty.
Because I had an extra Powerboard, I'm using this because it provides support for an on/off switch and ATX power connector. I'm not using the logic on the board for anything.
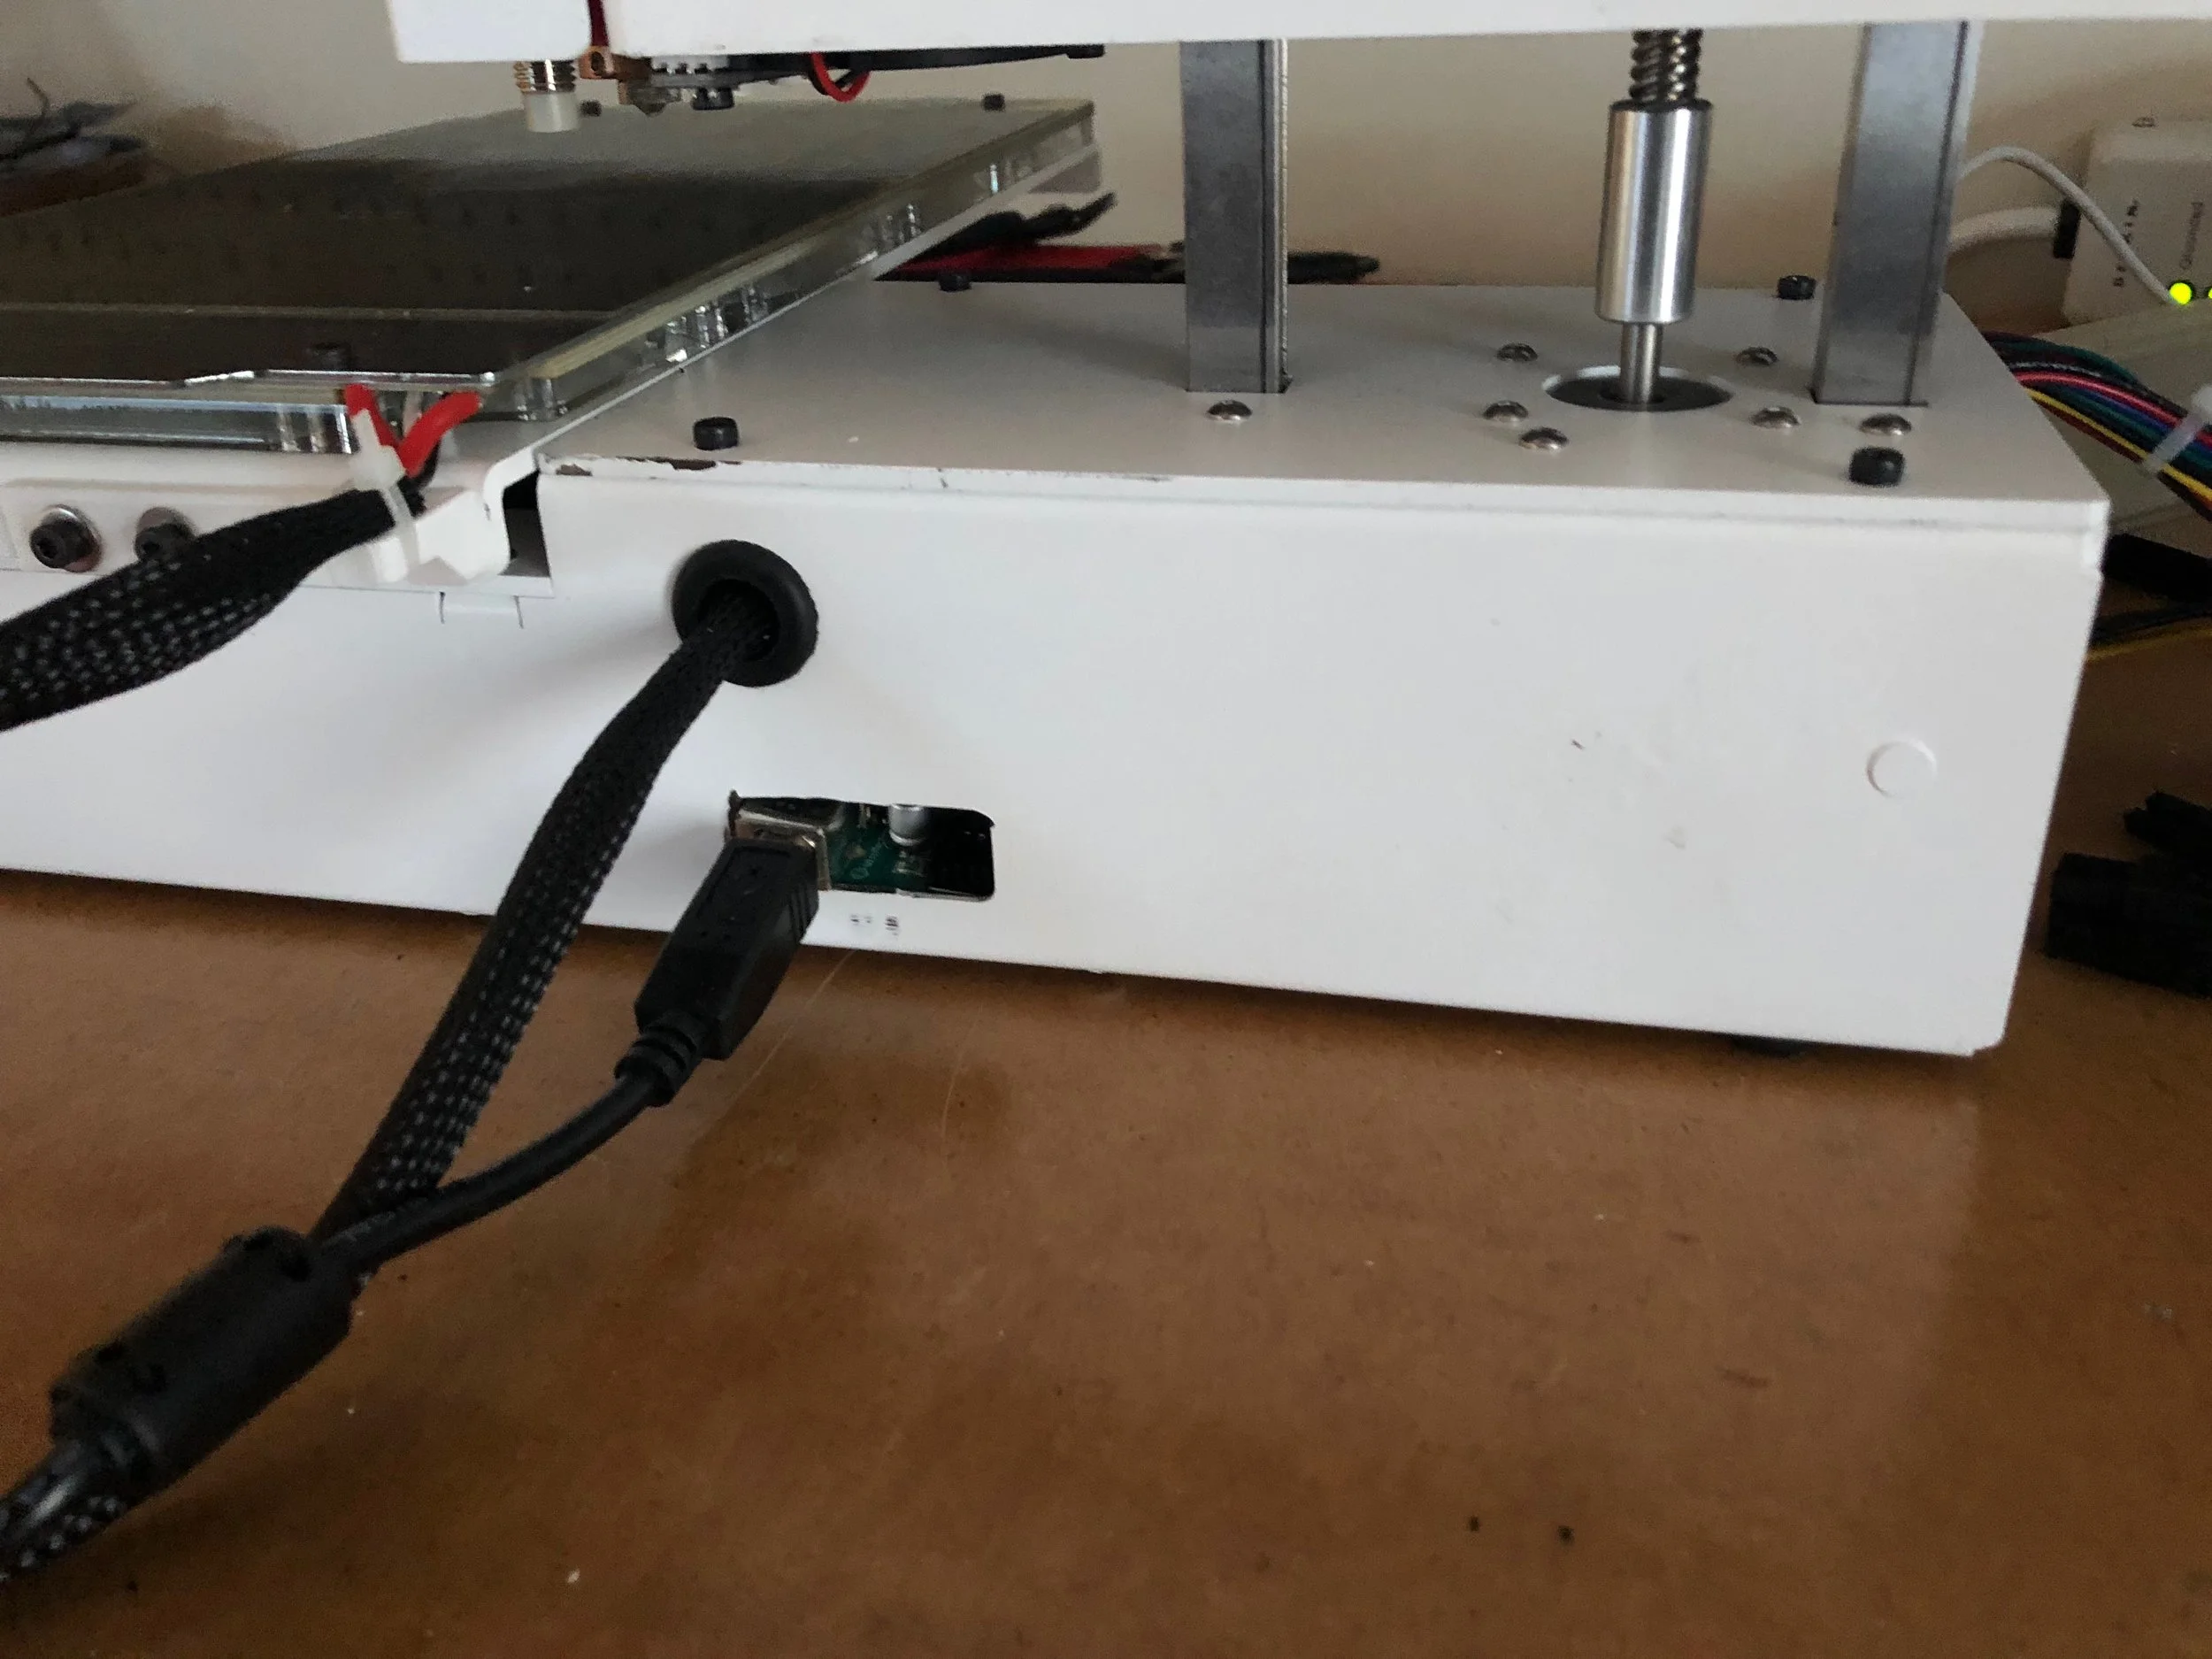
That hole in the back... was an experiment that didn't pan out.
Don't shame me about the rats-nest wiring. I know it is bad. Note how the board is oriented, sideways inside the printer. The board is secured by all the wire connections and wedged in.
Put the board in this way because I wanted to have access to the USB port (to update the firmware) and I had a difficult time mounting the board in-between the X and Z stepper motors, and it was impossible for me to put the board in lengthwise and still use the USB port.
In order to wedge the board in this way, I needed to snip off the reset button - otherwise it was constantly pushed by the Simple Pro chassis.
I think Brook has put some thought into better ways to mount this board.
The Raspberry Pi is connected directly to the PiTFT screen. The PiTFT screen is mounted on a 3D printed front plate that I designed to replace the sheet metal one that came with the kit (the alignment holes on the PiTFT are different from those on the Printrhub).
The EINSY Rambo board is connected to the Raspberry Pi with +5v, GND, serial TX and RX. These connect to expansion connector J19 on the EINSY board. Note that I had to bend the pins on the PiTFT board to get enough clearance to sandwich on the Raspberry Pi board.
The Marlin firmware is configured to use serial port 1 (the port connected to the Pi via J19) as the communication port. The USB port (serial port 0) is still used for firmware updates.
Conclusions
It prints wonderfully. I am impressed with the Marlin firmware + Trinamic drivers.
I'm not satisfied with the Raspberry Pi / Screen setup. The Pi works great when controlled with a remote PC, but I haven't set up the touchscreen resolution right. Paul de Vries has done a great job with TouchUI, but it is better suited for smartphones than ultra low (320x240) screens.
I'm looking forward to neatening up the wiring, running some longer prints, and setting up mesh bed leveling in the future.
If you're interested in modifying your Simple Pro / Simple Pro Chassis, members of Brook Drumm's Patreon are trying out a lot of ideas and sharing their work on his Slack team.


