Overview
When I joined my local makerspace, one of the most popular tools was their Glowforge laser cutter.
The Glowforge is very easy to use, and makes great cuts. However, it hasn't been 100% reliable for us. The Glowforge team has supported us whenever something has gone wrong, but repairs take time (and often require shipping the device back to Glowforge HQ).
For our next laser cutter, we wanted something a little more powerful and ideally, upgradable and repairable. Rather than buying a chinese laser cutter from Amazon, we gave SmartDIYs a try.
The SmartDIYs Fabool Laser DS is a large (41x24") 80W CO2 Laser.

Product Shot from the SmartDIYs Website
The hardware is open source. The system ships with a 90W laser tube, uses a house-made Arduino-based control board, and includes integrated water cooling that uses PC parts. All the internal electronics are run at 12V.
The mechanical system is similar to the x-carve CNC system, rollers on v-slot. There are safety lockouts that kill the laser power when the door is lifted or if the water cooling fails.
This article includes some notes about our set-up experience, and the modifications we've made to the laser. It is not a comprehensive guide, but will give you an idea of the choices we made as we upgraded.
Assembly

Building the frame.
I wouldn't call the assembly easy. There were a few gaps in the process where my experience with 3D printers was necessary, but generally, the assembly instructions were clear and straightforward. A few of us working together got the kit running over the course of a weekend.
We built the frame the first day, and took care of the wiring and laser alignment the second day.
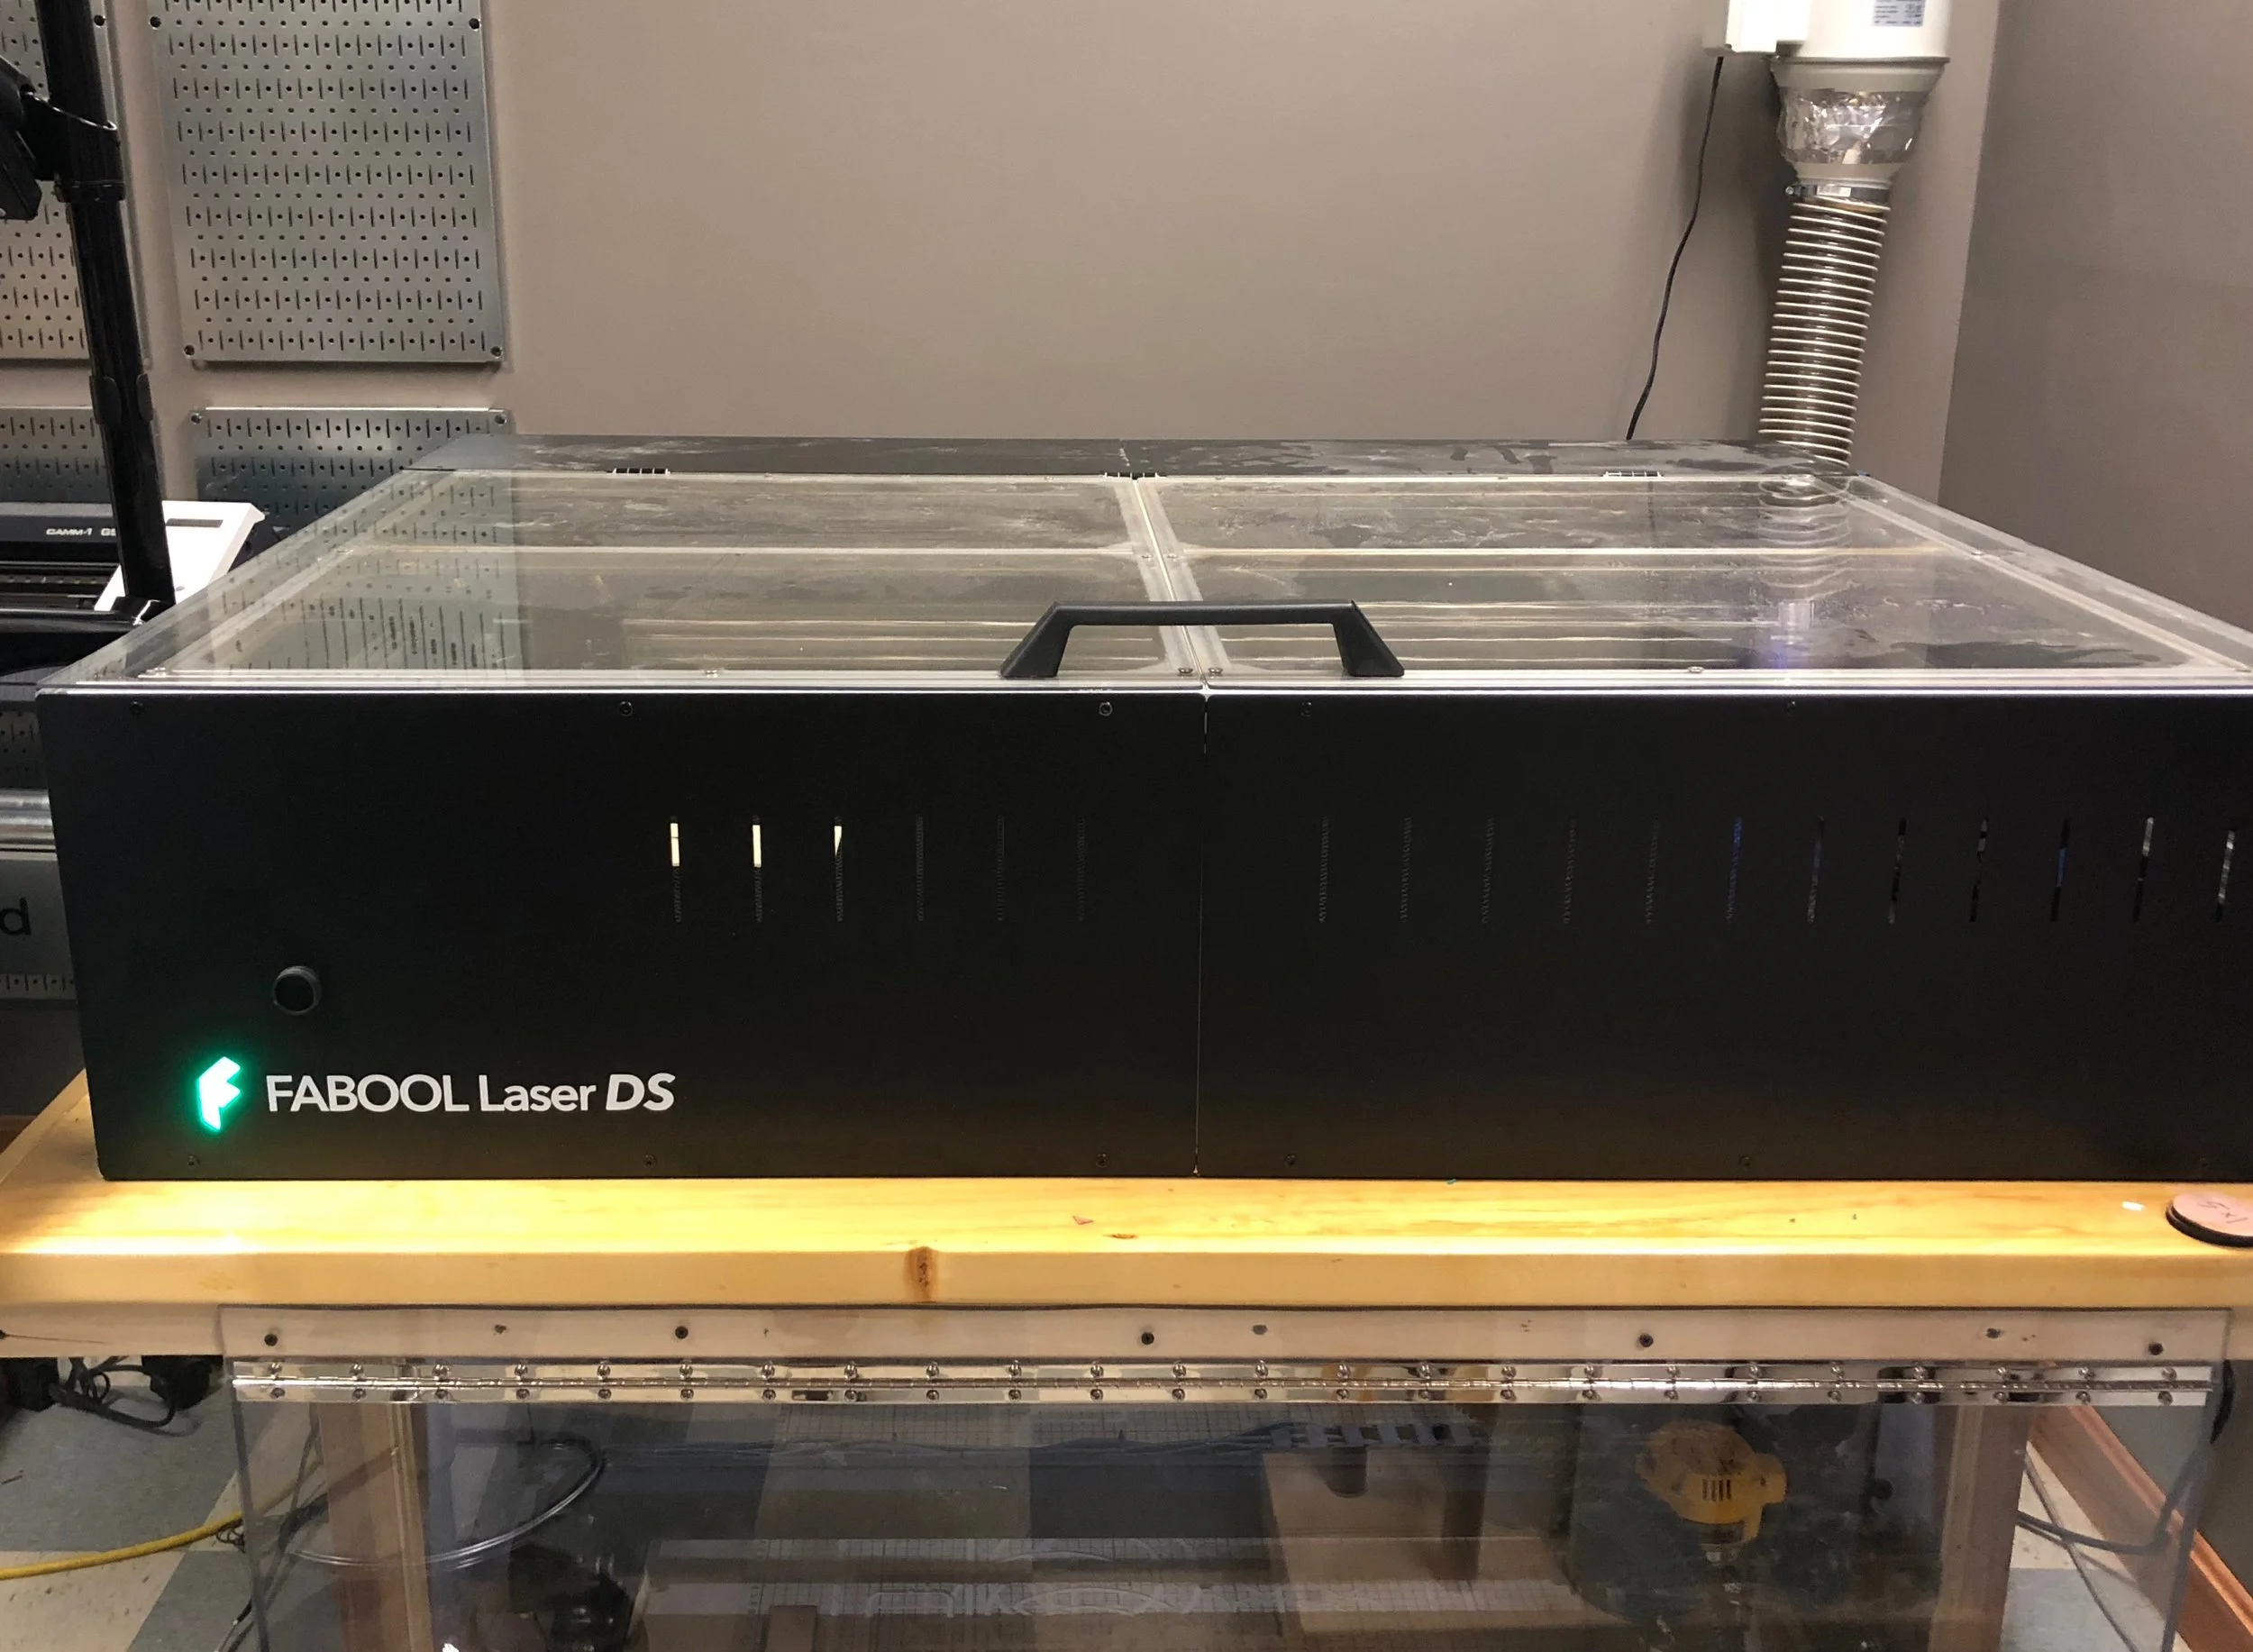
Completed Laser Cutter.
We were happy with the finished product. The lid of the laser cutter is a little flimsy (compared the the rest of the kit), but we knew about this before we bought the kit.
The software that SmartDIYs ships is quirky, but worked fine for us, and everyone got the hang of it quickly.
The device did drop steps from time to time, or have other motion-related errors. These problems may have been related to less-than-perfect assembly or calibration, but whatever the root cause, they were an issue for us.
I don't think these problems would happen on a smaller laser cutter; we have the jumbo unit and little things that wouldn't be a problem with a smaller frame become more prominent as size increases.
Before we bought the unit, we had discussed upgrading the electronics. This would let us use lightburn and run popular open source firmware like smoothieware. So we took the plunge.
Upgrades
We decided to build the system around a Cohesion3D board. The board takes a 24V power supply. To simplify things, we did not use the plug-in supply that came with the board, we installed a supply inside the unit and connected it to the main power switch.
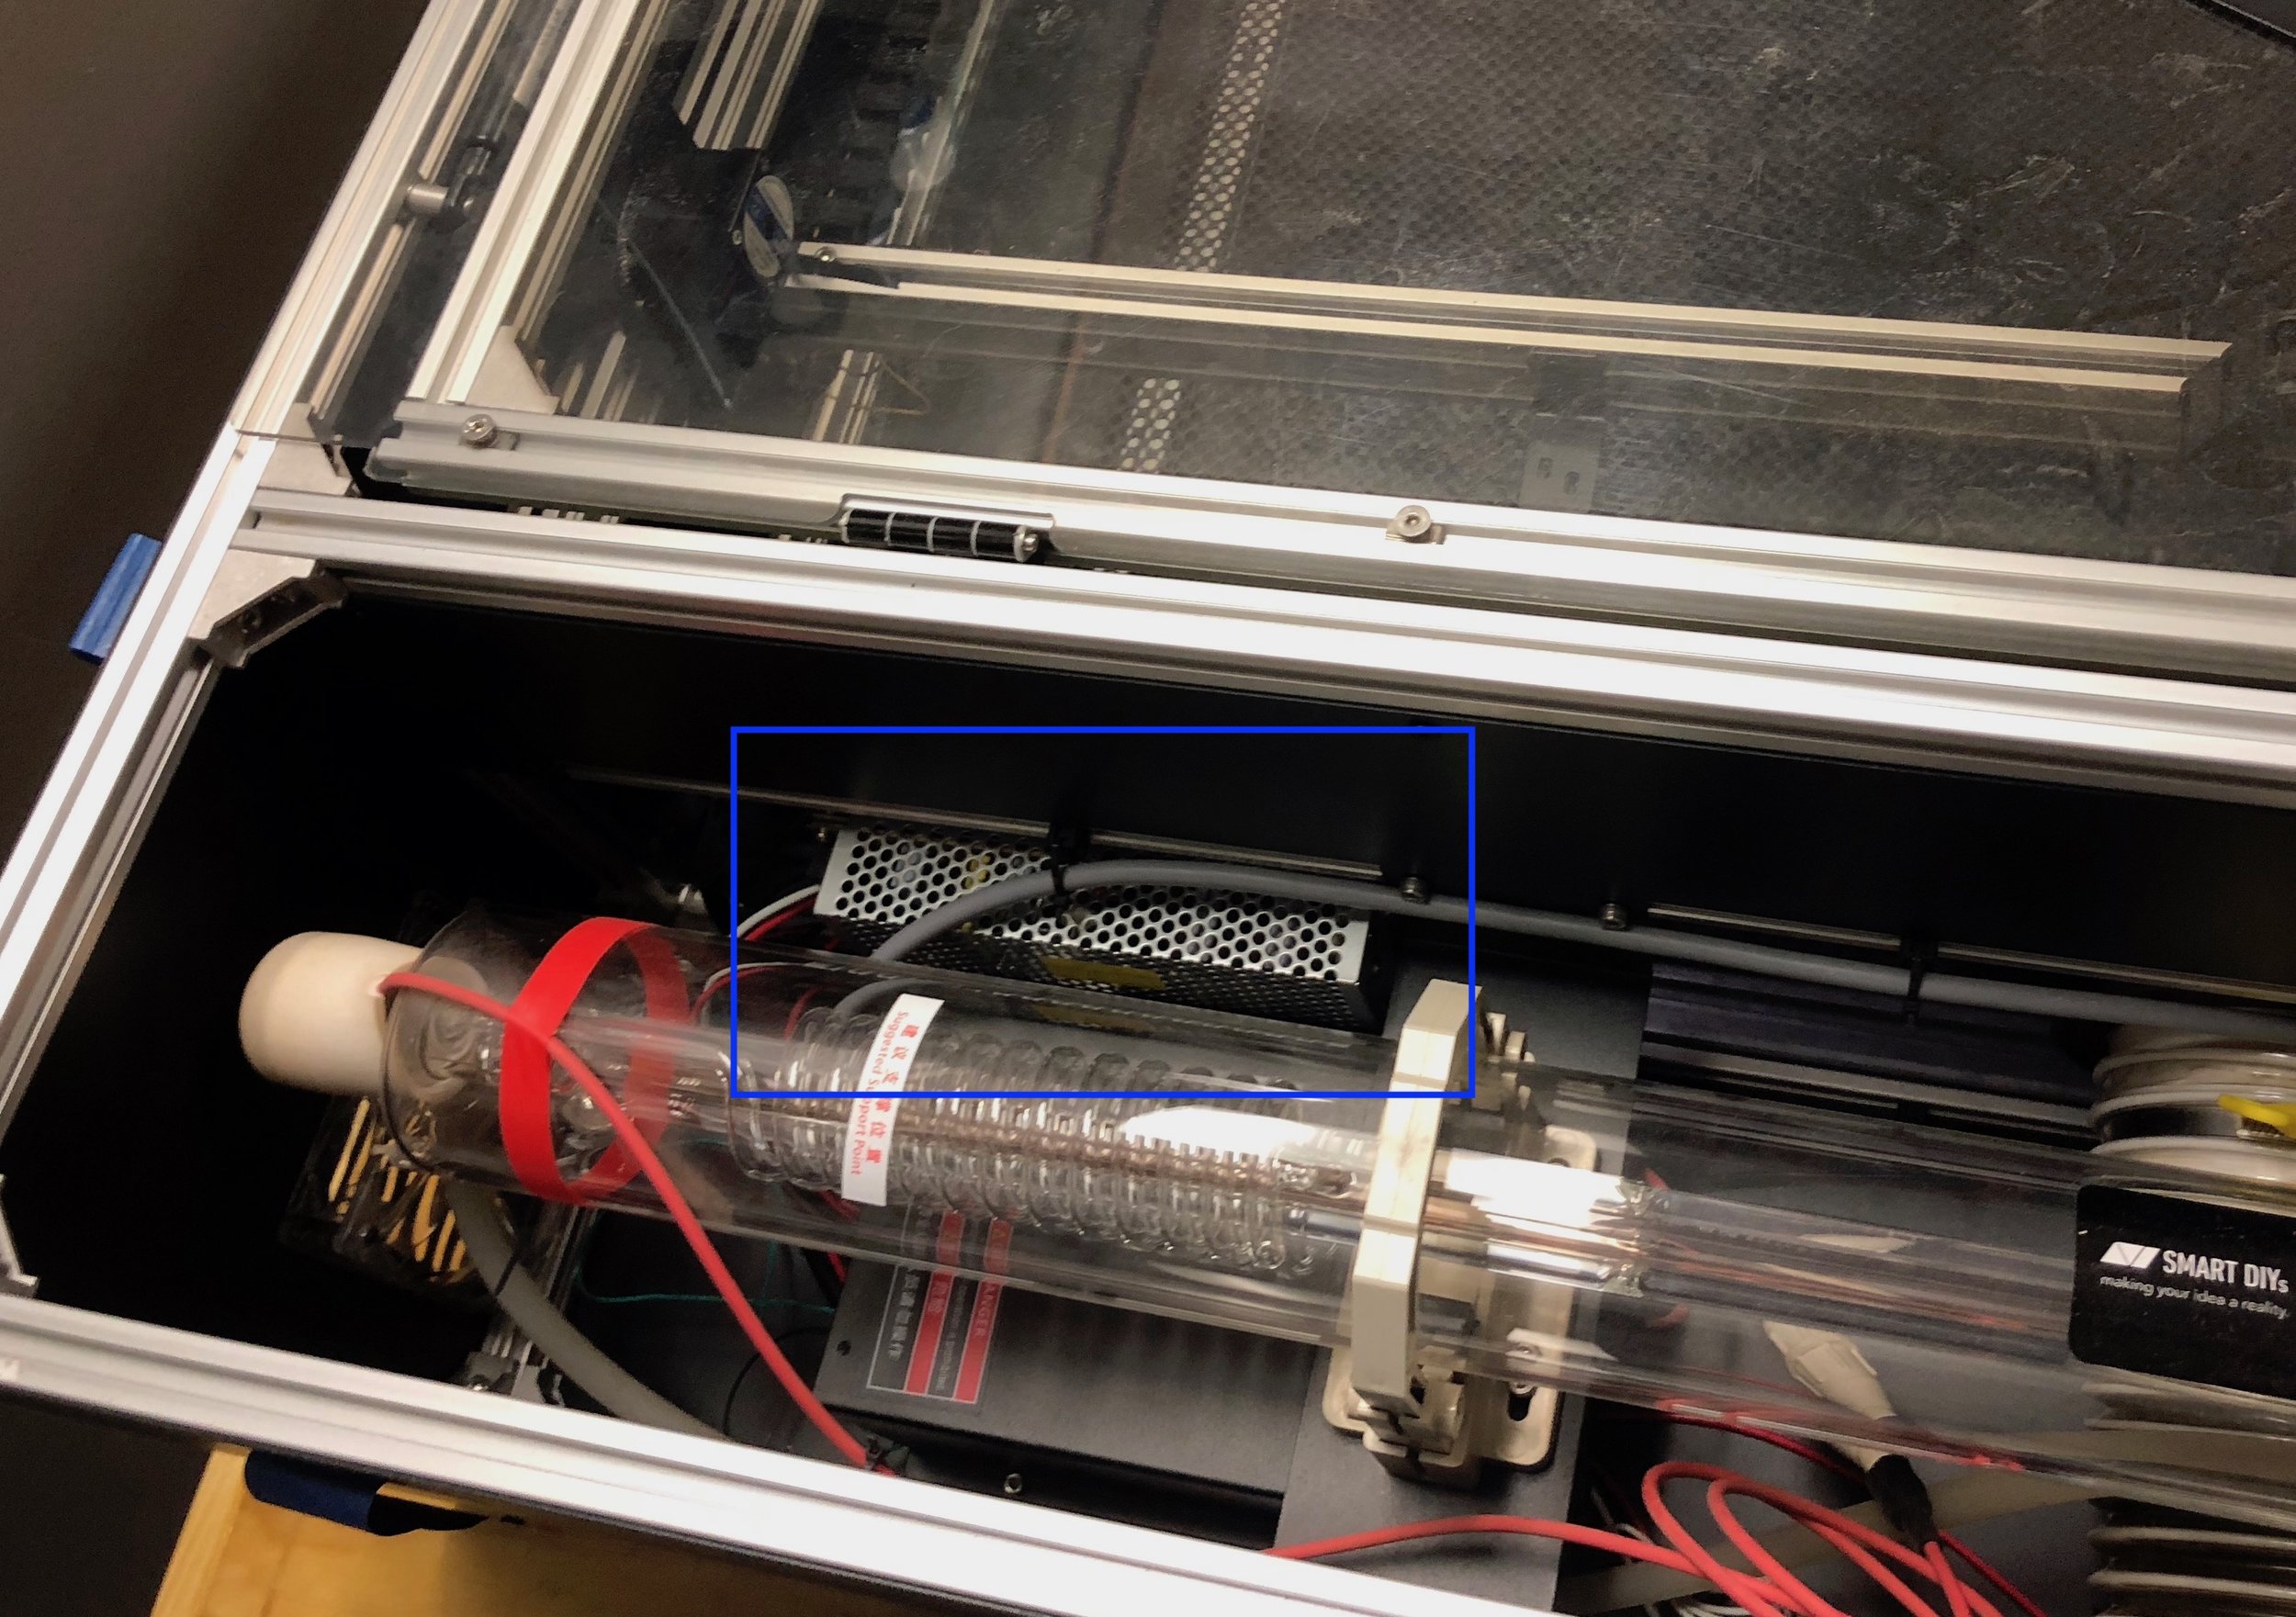
We installed a 24V power supply on the smoked acrylic wall. This would have been much easier to do before the laser tube was installed.
We left the 12V power supply in place to drive the water cooling system and the fans.
We replaced the stepper motors with slightly longer units. It was easier to re-wire the motors and endstops than to try to hack up the existing wiring... kind of a shame though since the original wiring was so nice. We did take advantage of the drag chains and cable routing.

High level diagram showing how we wired the system.
Here's what the laser power supply connector looked like once we updated the wiring:

Connector to the laser power supply.
It is very important that you do not wire the laser power line directly to the laser power supply.
I replaced the magenetic door switches and water flow sensor with simpler switches, and routed the laser power signal line through all three switches. This way, if the door is open, or coolant stops flowing to the laser tube, the laser immediately stops firing.
We also added a signal-driven power switch to the air pump, so it could be controlled automatically by the Cohesion board.
Here are the parts we used:
- Cohesion3D Laserboard
- StepperOnline 48mm motors
- IoT Power Relay
- Meanwell 24V Power Supply
- LightObject Flow Switch
Conclusions
I'm happy we purchased the SmartDIYs kit; they did a nice job with this unit.
As long as you are ok with using a proprietary controller board and the SmartDIYs software, I would not hesitate to purchase one of their smaller units (I think their diode lasers look really interesting).
On the Laser DS, there was a pretty dramatic improvement in speed and quality of motion once we upgraded the system to 24V with the Cohesion3D board, and I am happy we took on that project.
We are still fine-tuning some of the smoothie settings, but today, we are cutting consistently with this device.
I'm publishing this article now because there's almost no information about the SmartDIYs/Fabool laser cutters out on the web that I could find and I thought it would be helpful to share my experiences.